GRAVITY Forms Integration
HandL UTM Grabber / Tracker Gravity Forms Integration step by step
- Gravity Forms to Zapier SIMPLE Integration Video Tutorial
- Gravity Forms to Zapier Integration Video Tutorial
- Gravity Forms Integration
- Gravity Form to Facebook Conversion API (FB CAPI) - v3.1
Gravity Forms to Zapier SIMPLE Integration Video Tutorial
Please watch the related Video Tutorial below
and click right to the video and open link in new tab

Gravity Forms to Zapier Integration Video Tutorial
Please watch the related Video Tutorial below
and click right to the video and open link in new tab
Gravity Forms Integration
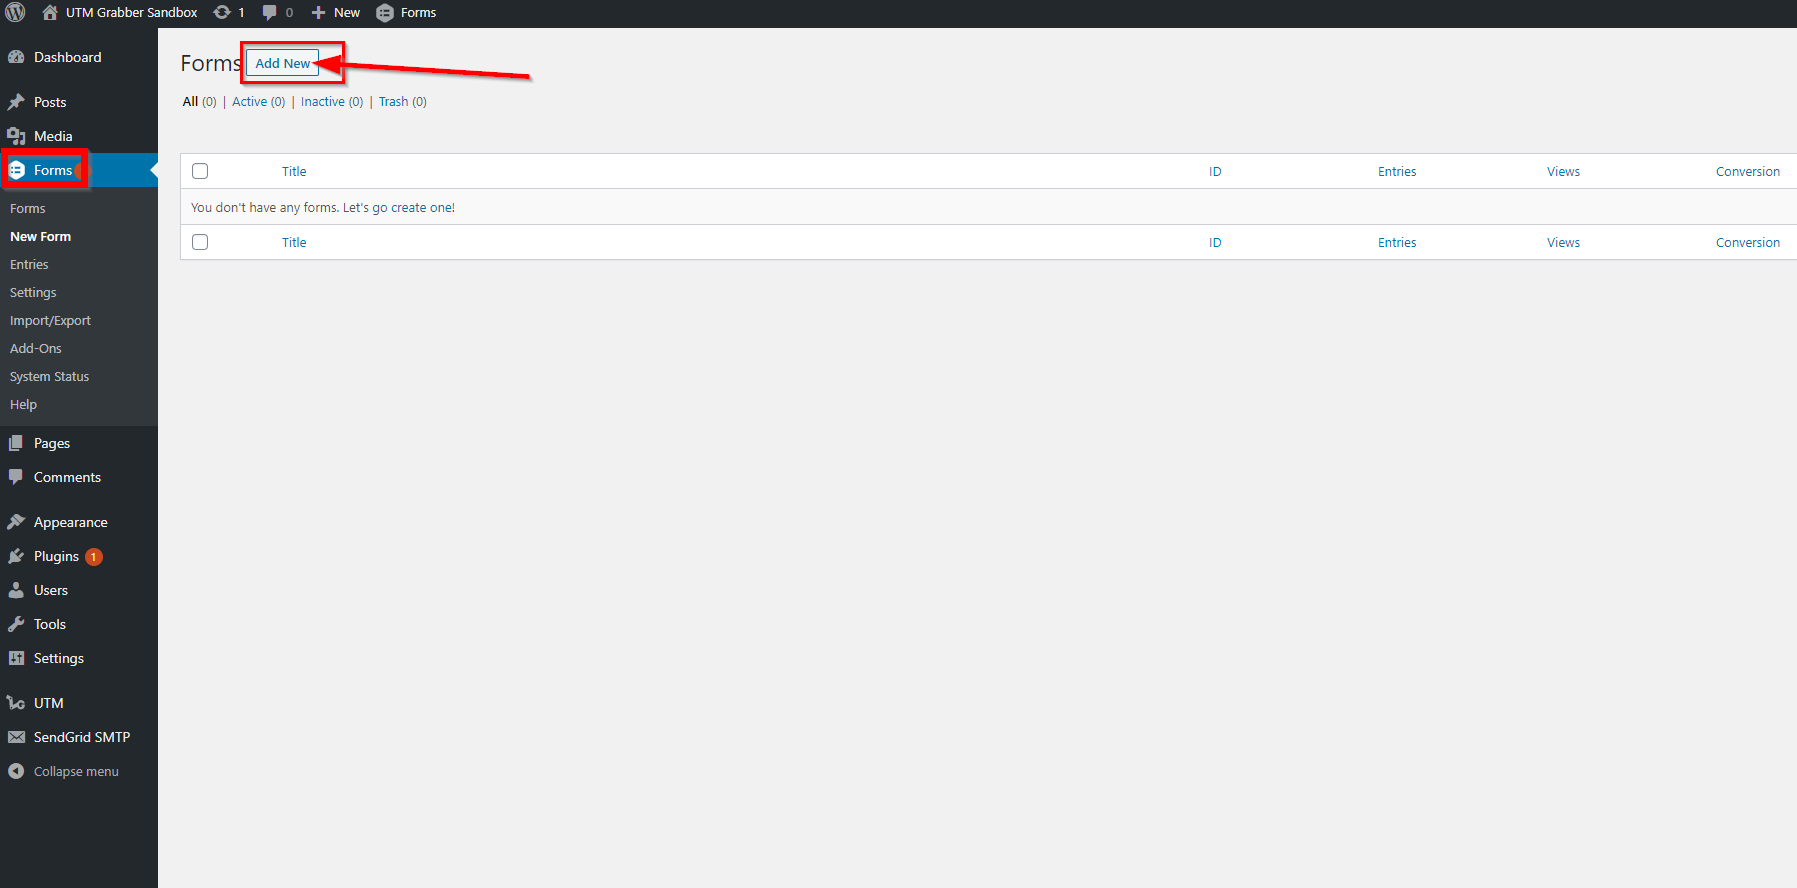
1. Click Forms and 'Add New' Button
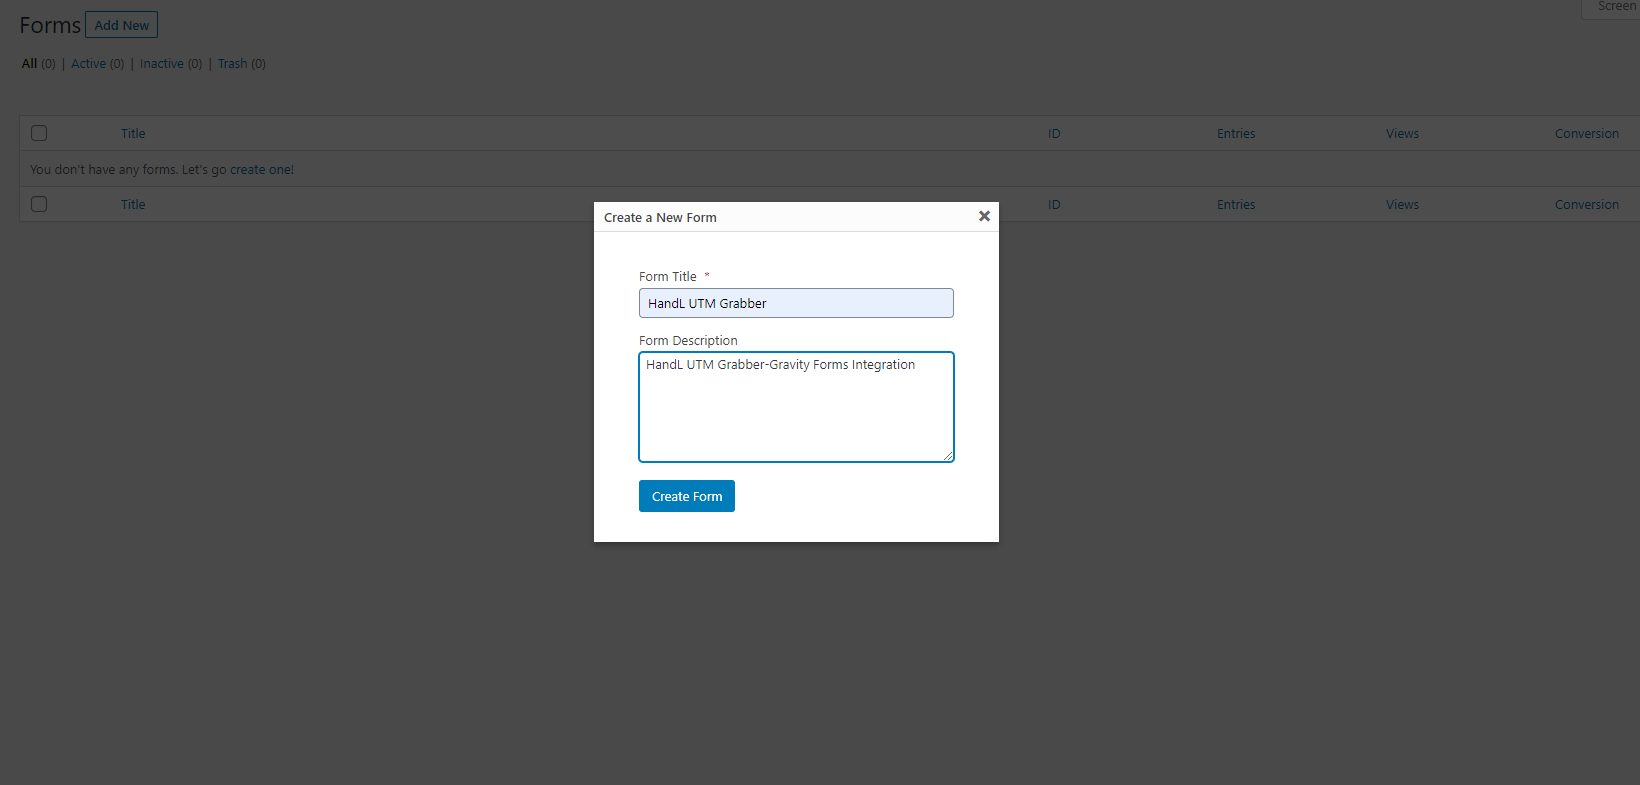
2. Write Your Form Title and Description as you wish
Then Click 'Create Form' Button
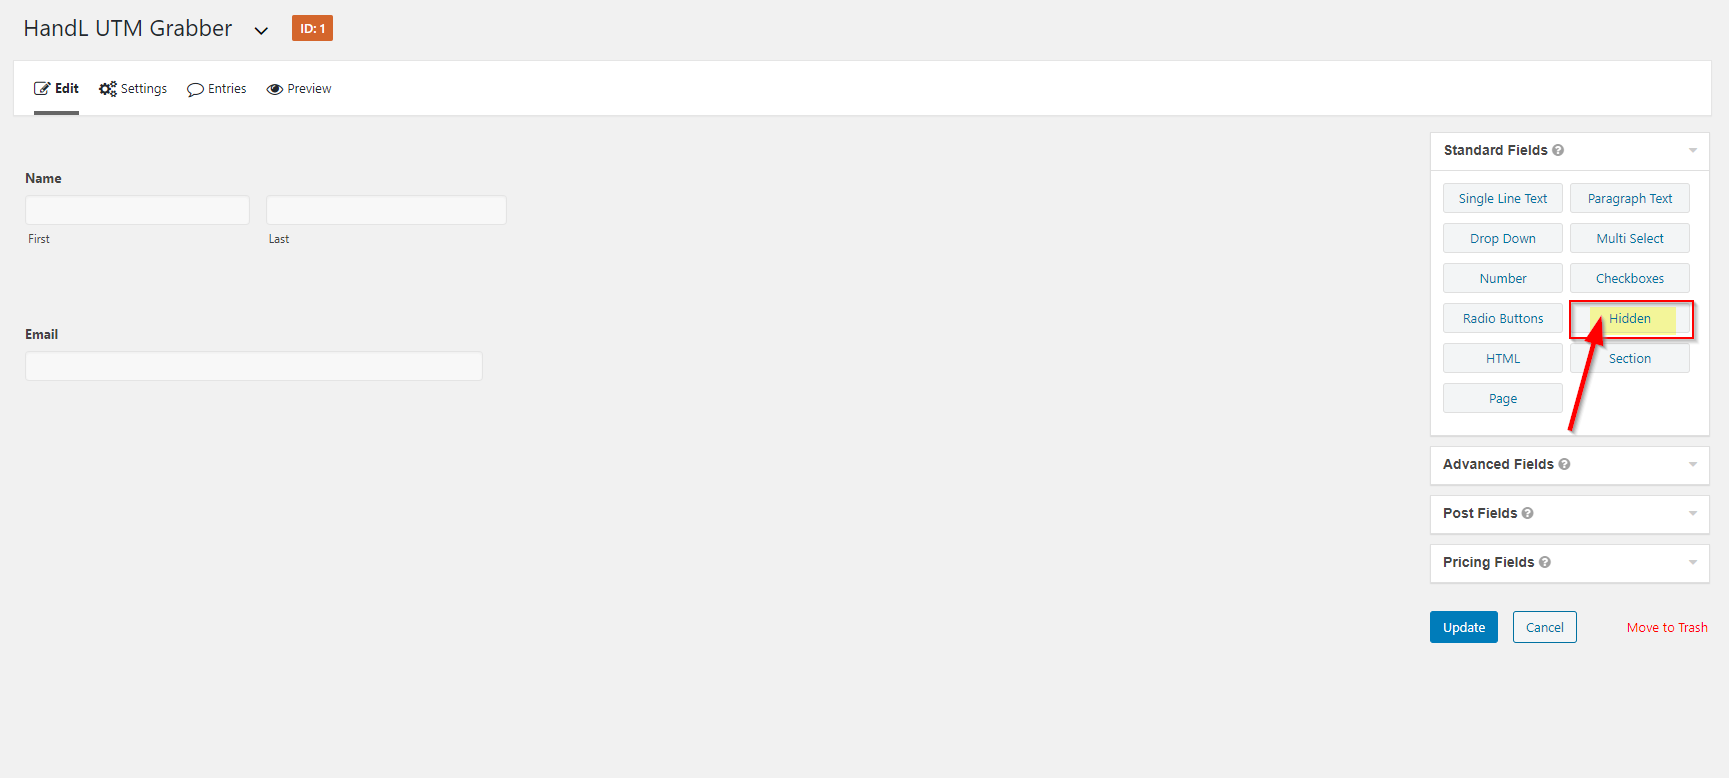
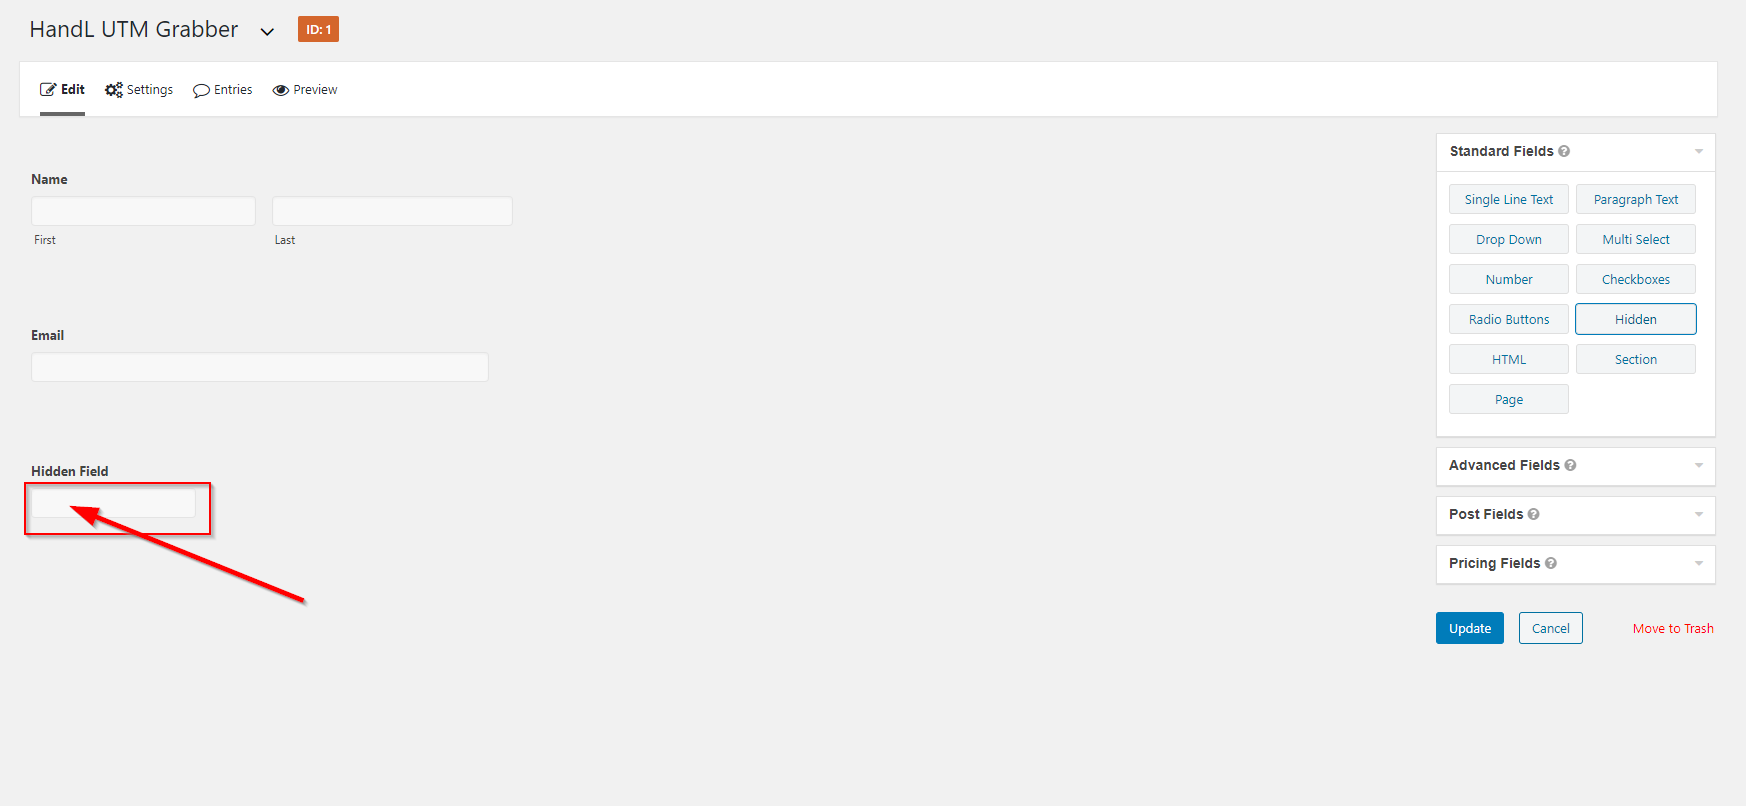
3. First Add your'Hidden' Element on your form
Click the 'Hidden' Button on the menu right
4. Click Hidden Field
5. Give any name for your label
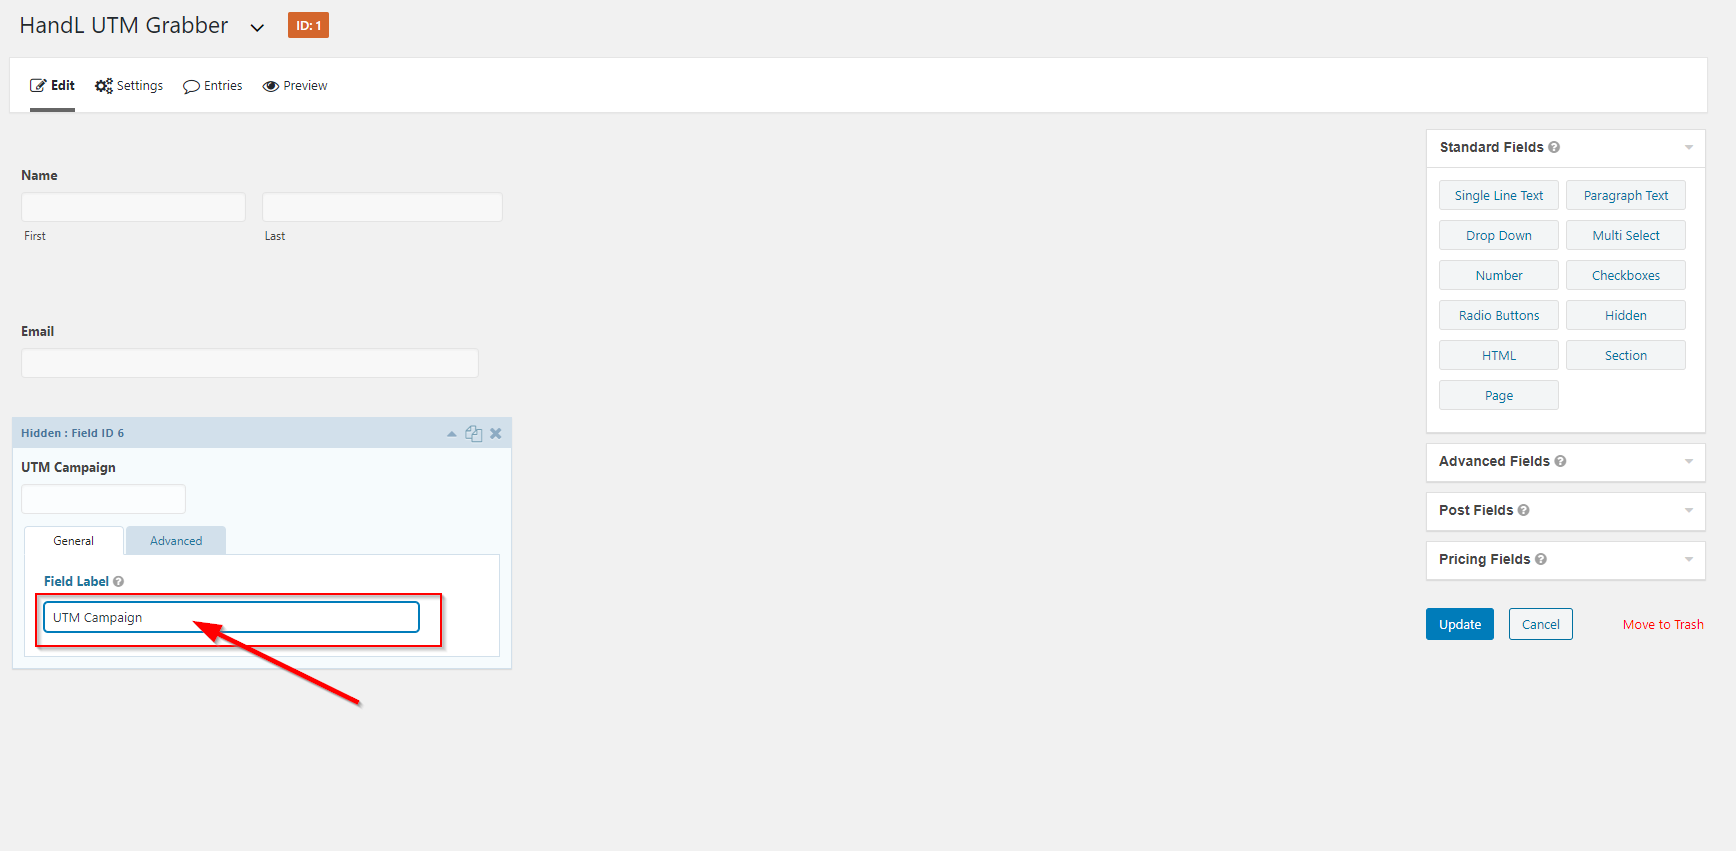
6. Click “Advanced” tab and check “Allow field to be populated dynamically” and use the shortcode in “Parameter Name”

7. Click Update Button

8. Preview of Your Form
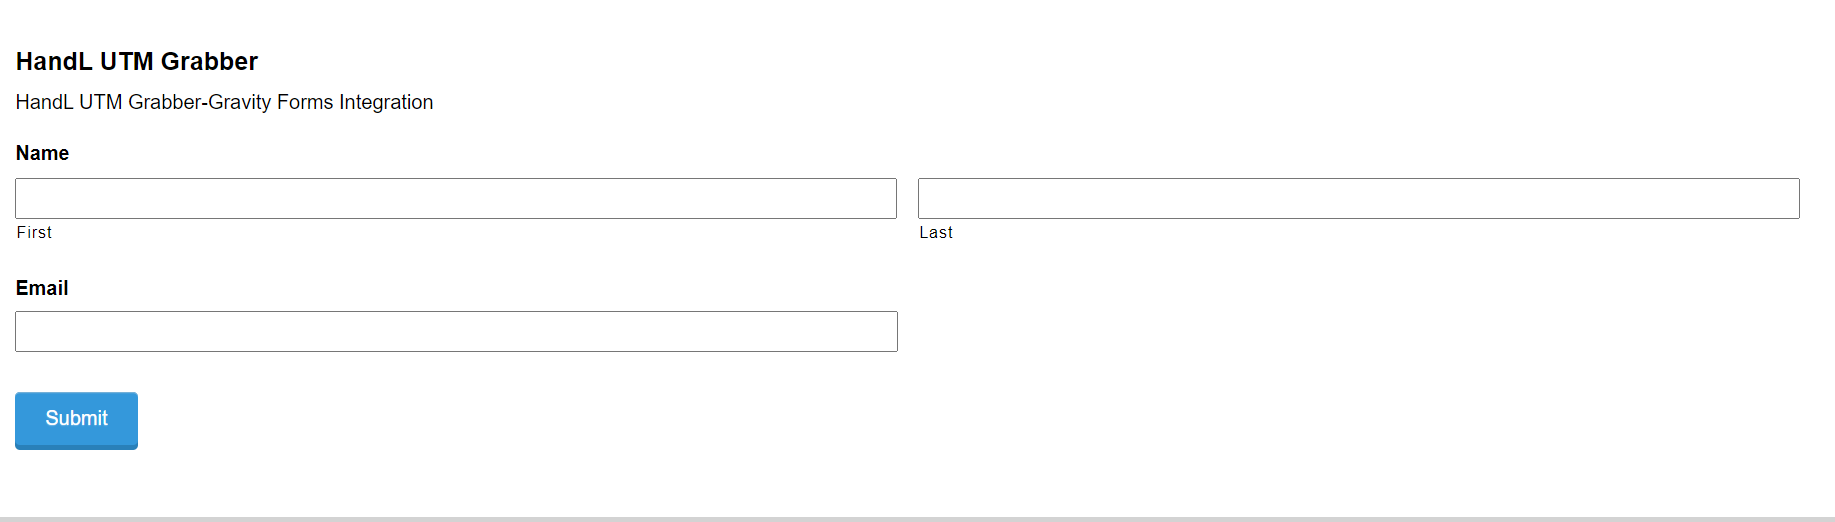
Here we only illustrated utm_campaign. However you can use all the other parameters very similar way. See the list of all the parameters available here Native WP Shortcodes
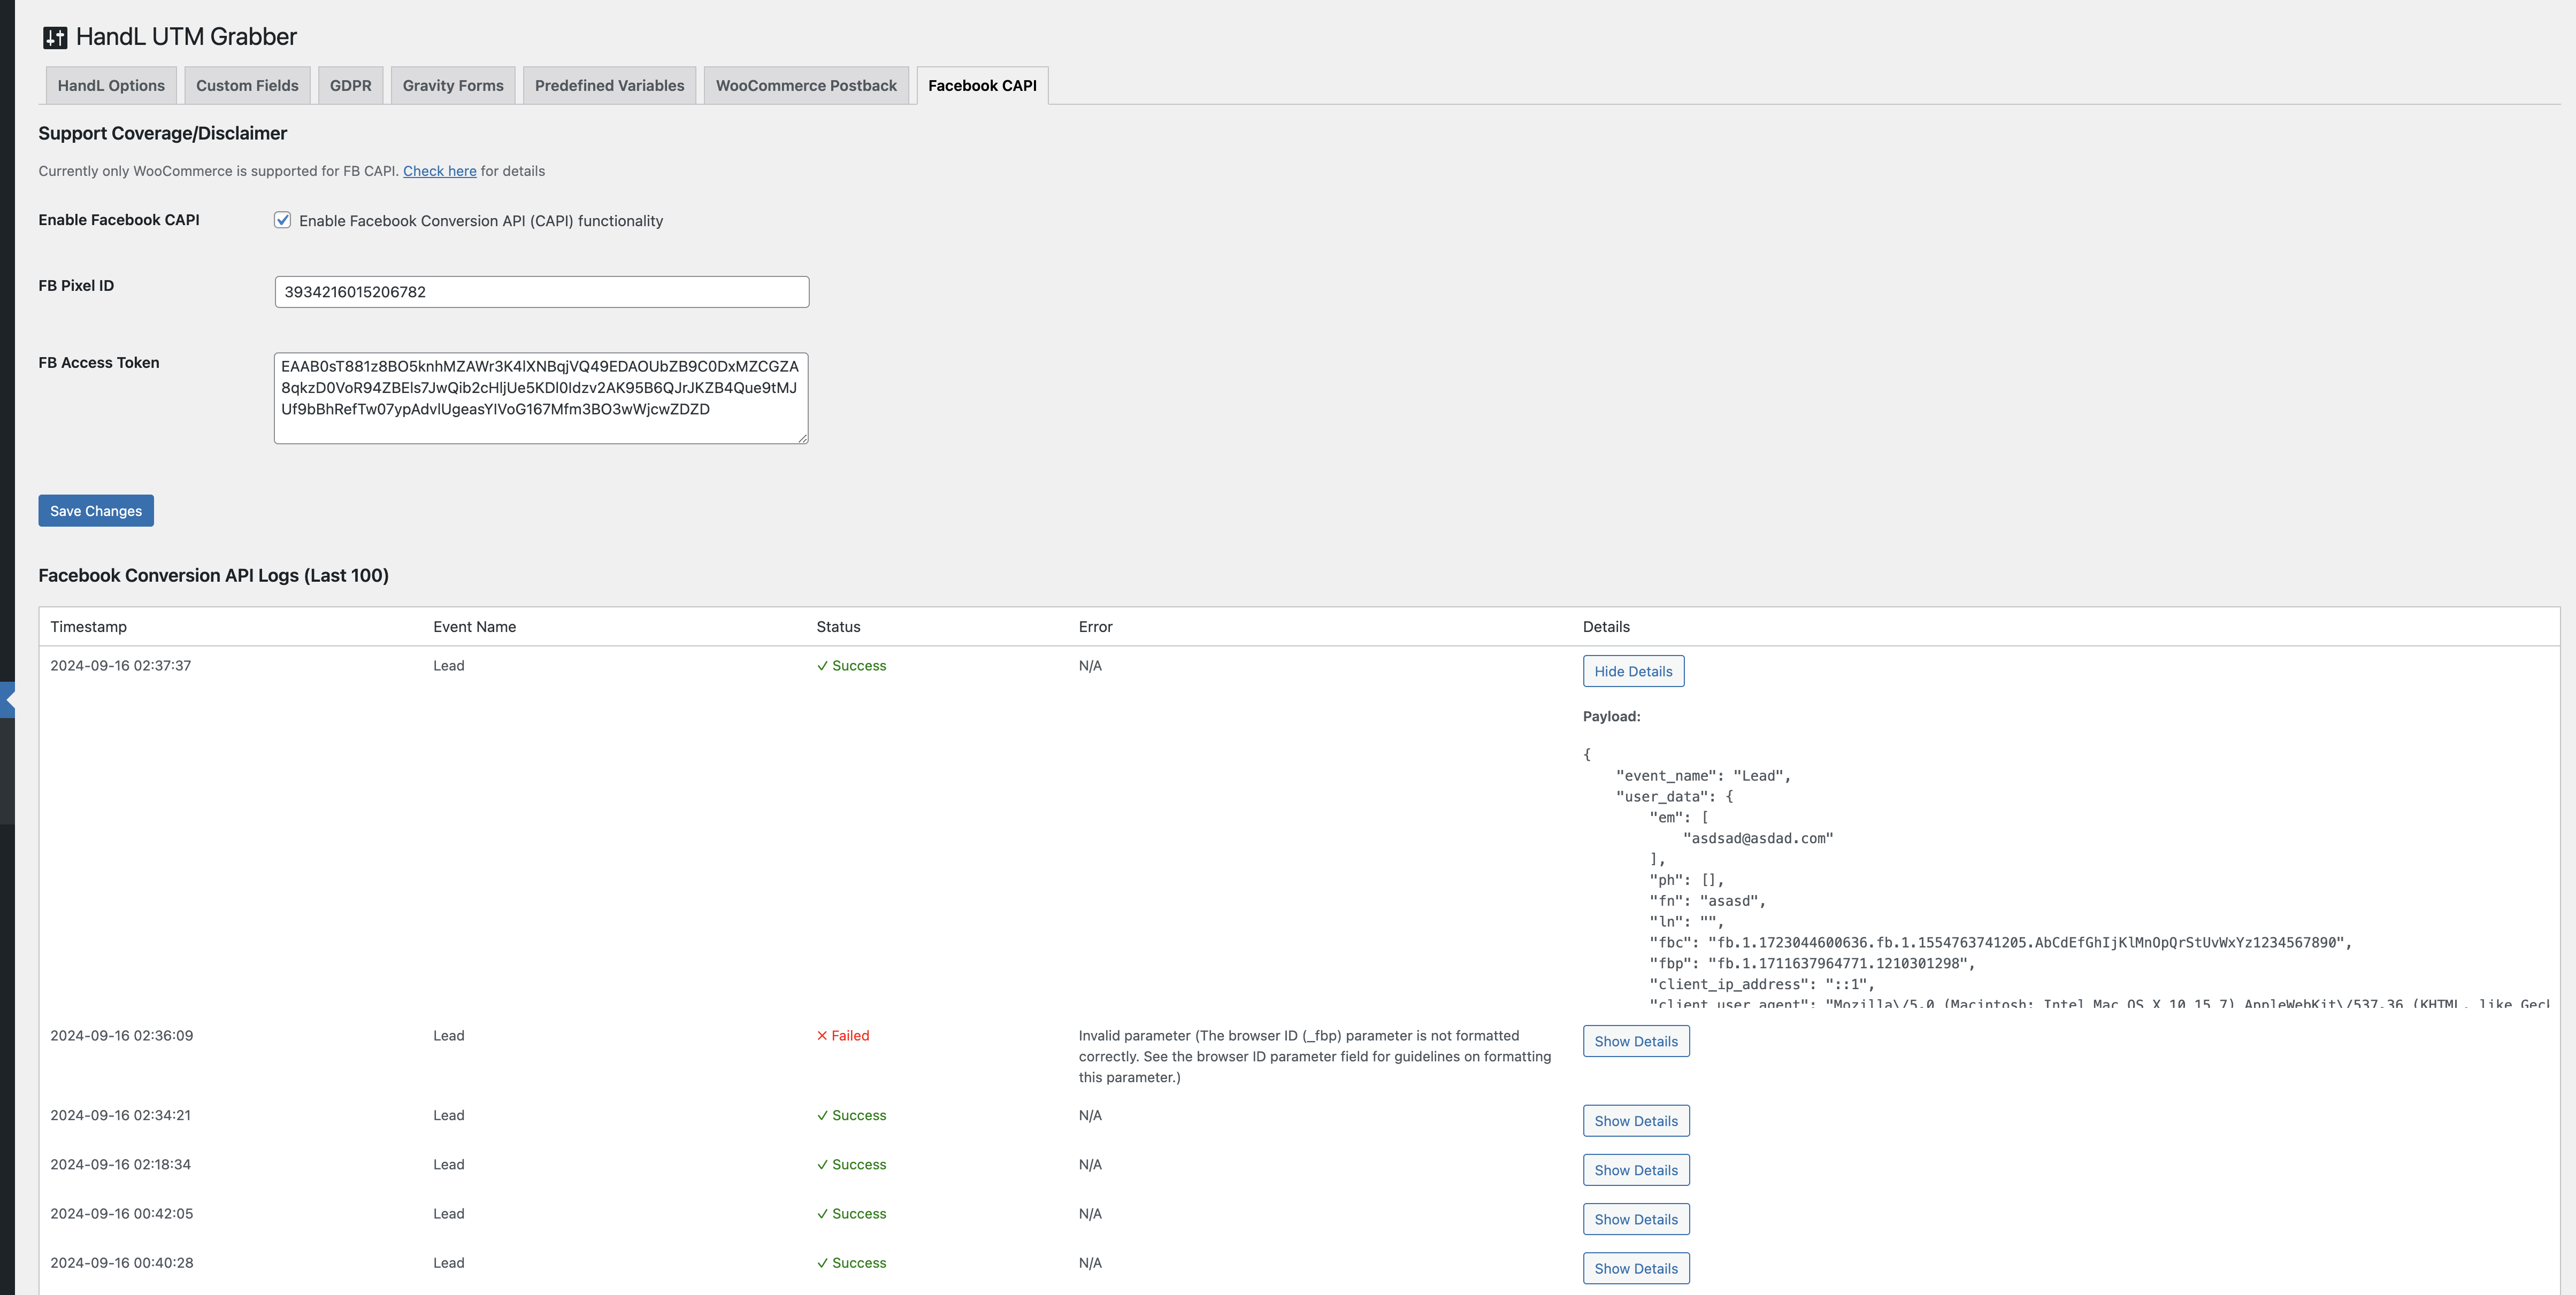
Gravity Form to Facebook Conversion API (FB CAPI) - v3.1
Click the Facebook CAPI menu in UTM and enter the Facebook pixel ID and access token

How to generate an Access Token: Go to your pixel, click "Settings," scroll down to the Conversion API section, and click "Generate Access Token."

Once you have set everything up, keep monitoring your events and watch your event match increases to the high 8-9s.

When you are ready, enable the feature by checking the "Enable Facebook Conversion API (CAPI)" functionality.

After that, as soon as one of your forms is submitted, the Lead event will be sent to Facebook as well.
You can check the events in the Facebook Conversion API Logs after they are sent. If there is any failure, it will be reported there, detailing what went wrong.